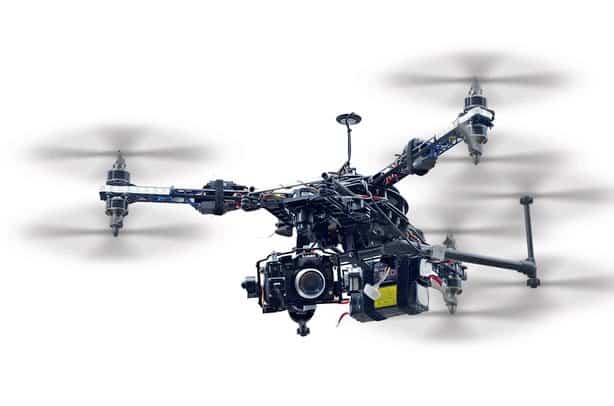

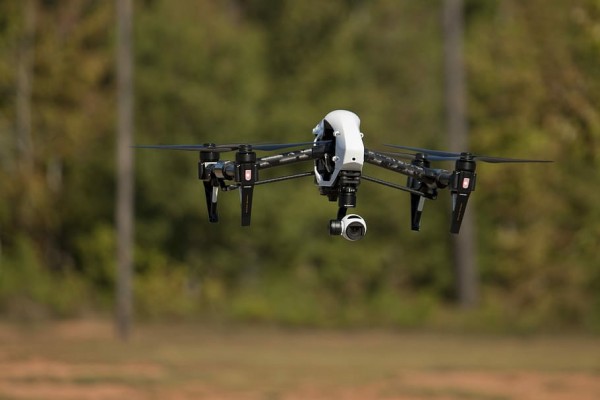
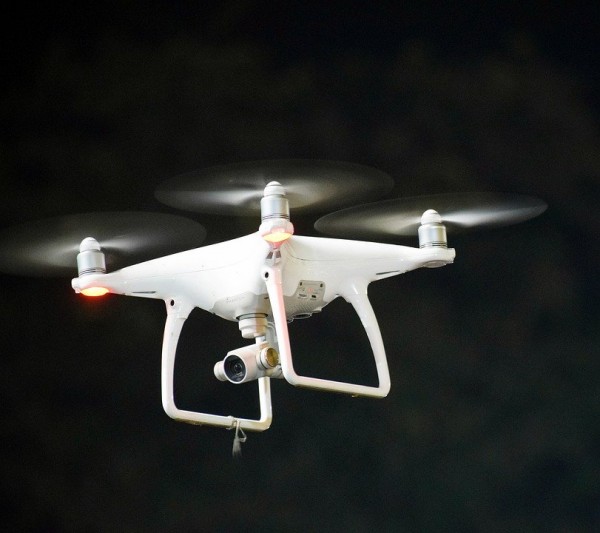
Whether you are using one of the lighter generations of quadcopters to capture videos and stills or are flying in a helicopter using a traditional camera to do the same, there are a couple of simple tips that will quickly elevate your stills and videos to a higher level.
Aerial photography really opens things up and what you can get from that bird’s eye-view is absolutely amazing. It was five or six years ago that a stabilized 4K video shot or high-resolution image from the sky was a multi-million dollar production – we are talking about having the best drone camera, a dedicated camera-man and hugely expensive stabilizing gear. Now you can get similar results with a $1,000 quadcopter and a little bit of practice. So let’s jump into the tips so that you can go out and start shooting.
1. Select the Right Time of Day
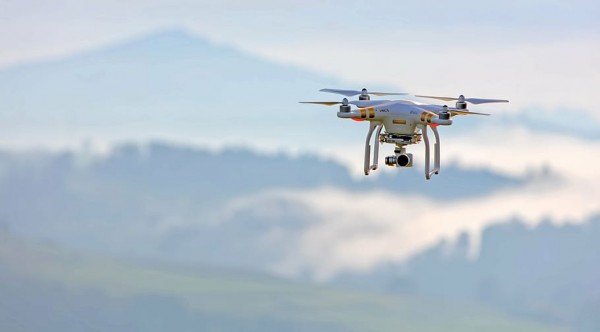
A lot of people who are shooting landscape know that the golden hour is a great time for shooting. Golden hour is the first and last hour of sunlight in a day – so just after sunrise or just before sunset. You get richer colors and generally softer light and the end result can be really good.
With a traditional camera, you can shoot at the very start or end of the day – use a slower shutter speed and you will be able to get great results. However, if you are shooting too early or too late in the day with your quadcopter, the light level will be very low and the sensor will have to crank up the ISO and your overall image quality will not end up being too good. So if you have a quadcopter, shooting between 30 and 60 minutes before sunset is the best time.
2. Do Some Planning
Planning is the key for any kind of shoot. You will get some really great shots by just going out to an iconic landscape or flying over a really beautiful city. However, if you want to find something that is a little bit less touched, you might want to do a bit of research and find areas near you that will offer a great scene to be filmed or shot from the air.
To be honest, a lot of things shot from the air just instantly look cinematic but looking for exceptional shades or light and shadows is a really interesting way to go about it. So check out Google Earth to find different areas that might look good from the air and then film them.
3. Experiment with Height
When you are flying your drone, remember that there will be some kind of restrictions on how high you are allowed to fly. Moreover, flying as high as your drone can go might not always be the best idea. With aerial photography, finding a great composition can be hard as there is so much going on in the landscape under the drone.
The higher your drone goes, the more you will be able to include in your frame. However, the image may look cluttered as a result. Therefore, instead of trying to capture everything in one shot, try flying lower and focusing more on your subject. Experiment with different heights and see what results you get.
4. Remember the Rule of Thirds
Capturing a good picture with your done is similar to taking one on the ground. If you want to capture stunning images, finding an epic composition is the key. The rule of thirds should be kept in mind when composing the shot. If your drone settings permit, switch on the grid to position all your elements within the thirds of the frame.
Fly the drone and explore the area to look for leading lines that guide the eyes of your view around the frame to the most vital elements. For example, rivers may act as leading lines into mountains, trees and other objects in the landscape. If you follow the rule of thirds, your audience will stay focused on the image for longer.
5. Make a Panorama
Most drones available today don’t feature an ultra wide lense. Generally you won’t need one when you are doing aerial photography as you will probably be zooming in on your subjects within the landscape. However, there will be times when you will want to fit more objects in a single frame. This might occur when you come across a grand vista. Instead of being disappointed and letting go of the image, you can capture the entire scenery in a panorama.
Don’t think that panorama photography will be difficult for you just because you haven’t done it before. Most drones available today come with a built-in panorama function, which means that you won’t have to do a lot of work. Simply switch to panorama mode and let the drone take the panorama. Save the panorama images and edit them later for a final version that looks absolutely breathtaking.
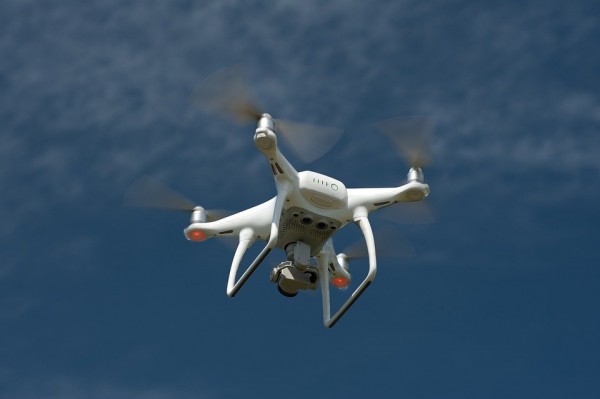
6. Use the Right Settings
The right settings to use with your drone aren’t too hard to figure out. The drone camera might not produce quality images as high as your DSLR can, however, this doesn’t mean that you can’t capture stunning stills with your quadcopter. If you select the right settings for your drone, you will be able to get perfect shots.
Shoot at IS0 400 to minimize noise. Next, adjust the aperture of the drone camera to f/4 to f/5.6. Some drones won’t let you do this but the Phantom 4 will. While you might think that this aperture is too wide for capturing a sharp image, if you shoot at a smaller aperture, you will get poor results.
Parting Words
The last thing we want to say to you is that if you want to improve your aerial photography, then be confident. Don’t worry about taking your drone in the air, experiment with different heights and angles and don’t be afraid to explore. The more you practice, the better you will get so follow our tips and soon enough, you will become a great aerial photographer.