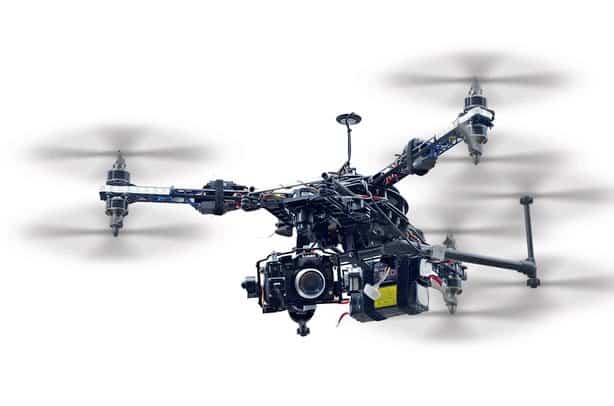
The just released Mavic 2 Pro and Mavic 2 Zoom are packed with new and upgraded features especially when it comes to the cameras.
We are still going through all the awesome new features but there’s one that every drone photography enthusiast is raving about: hyperlapse videos.
The new hyperlapse mode lets you easily create a sped-up video using hundreds of photos stitched together.
‘Easily’ is the main word here.
Taking hyperlapse videos with a drone hasn’t always been a straightforward process. You have to use an automated course-following mode such as Waypoints and then set up timed shots.
The Mavic 2 drone has made it incredibly easy for anyone, even beginners, to take cinematic hyperlapse videos at the press of a button.
How to Take Hyperlapse Videos With Mavic 2
This function is available in both the Mavic 2 Pro and Mavic 2 Zoom. To configure it, use the DJI GO 4 app.
Make sure you’ve updated the app as well as the drone and controller firmware before you continue.
With your smartphone connected to the Mavic 2 controller, tap the controller icon on the left side of the screen. This will display available flight modes. Select Hyperlapse.
You’ll find four modes to choose from: Free, Course Lock, Waypoint and Circle.
In all these modes, you can set the interval between shots (2 to 15 seconds) and the total length of the hyperlapse video (2 seconds to 30 seconds).
The drone will then automatically calculate how long it needs to shoot to create the required hyperlapse.
Basically, beyond selecting the hyperlapse mode and configuring a couple of settings, there’s nothing else you need to do.
After shooting, the drone will automatically create the hyperlapse video and you can even edit and share it from within the DJI GO 4 app.
Here’s how each mode works.
1. Free
In this mode, you can control the altitude of the drone as well as the camera’s tilt. But you cannot select a specific target for the drone to focus on.
This mode is a bit challenging to use especially for beginners. I recommend starting with the other modes before giving this one a try.
2. Circle
Circle mode is the easiest to use. It results in a smooth pro-quality hyperlapse video that is focused around a specific target.
You cannot change the elevation of the drone in this mode. But you can select whether the drone flies clockwise or counterclockwise.
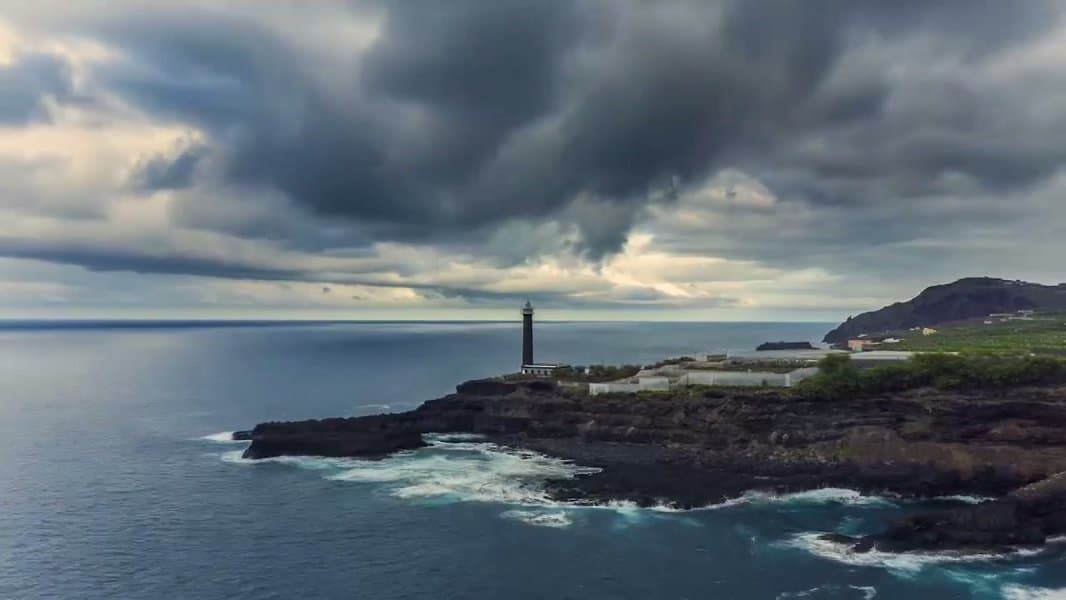
It’s perfect for shooting scenes revolving around a particular object such as a building or a bridge.
3. Course Lock
In course lock, you lock the drone’s camera onto a specific object and then set the course direction. It will follow the pre-set course while maintaining focus on the target object.
You can also use course lock to shoot an object that is straight ahead. Simply make sure the target is directly in the path of the Drone’s flying direction.
This is handy when you want to create a dramatic scene of an object getting closer.

4. Waypoint
This mode is great for making a more interesting and dynamic hyperlapse video.
The drone flies along pre-set Waypoints, making a hyperlapse video as it goes. You can add a maximum of 5 Waypoints.
In Waypoint mode, you can change the drone’s altitude. This is helpful when you need to add a bit of cinematic flair to your hyperlapse.
For instance you can increase the drone’s altitude as it approaches a waypoint to reveal a magnificent sunset or a city’s skyline. Here’s a good example.
Tips for Making a Pro-quality Hyperlapse Video
These tips apply whether you are using the new DJI drone or any other camera drone.
- Select the right scene to shoot. It needs to have a lot of moving objects like cars, people, clouds or water. You can combine them with a fast-changing seen such as darkness falling in and the city lights coming on or dark clouds coming in just before a downpour.
- Shoot when the weather is as calm as possible. This will reduce shaking in the video. But no matter the weather, it’s still a good idea to use Warp stabilizer VFX to perfectly smooth out the video. Even small shakes tend to get magnified in a hyperlapse video.
- Use a neutral density filter if you want to create a blur effect. This allows you to select a larger aperture and lower shutter speed without overexposing the photos. A neutral density or ND filter blocks too much light from reaching your camera’s sensor without affecting color.
- If possible, shoot in RAW. This gives you room to make a wide range of enhancements in post-processing.